
Now, the truth is that there is a tremendous amount of importance which goes into a tile backsplash installation. This is something particularly convenient and it’s going to enhance the overall appeal of your kitchen – you need to take it into account when it comes to it. However, the installation process might seem a bit daunting to those who are unaware of what to do. We are here to show you that there is nothing that complicated and hard about it.
So, let’s break down the process in a few comprehensive steps which could be handled one at a time. Without any further ado. (Remember, instead of one tile you can file the space with various craft beads to make sure your home looks like no other)
-
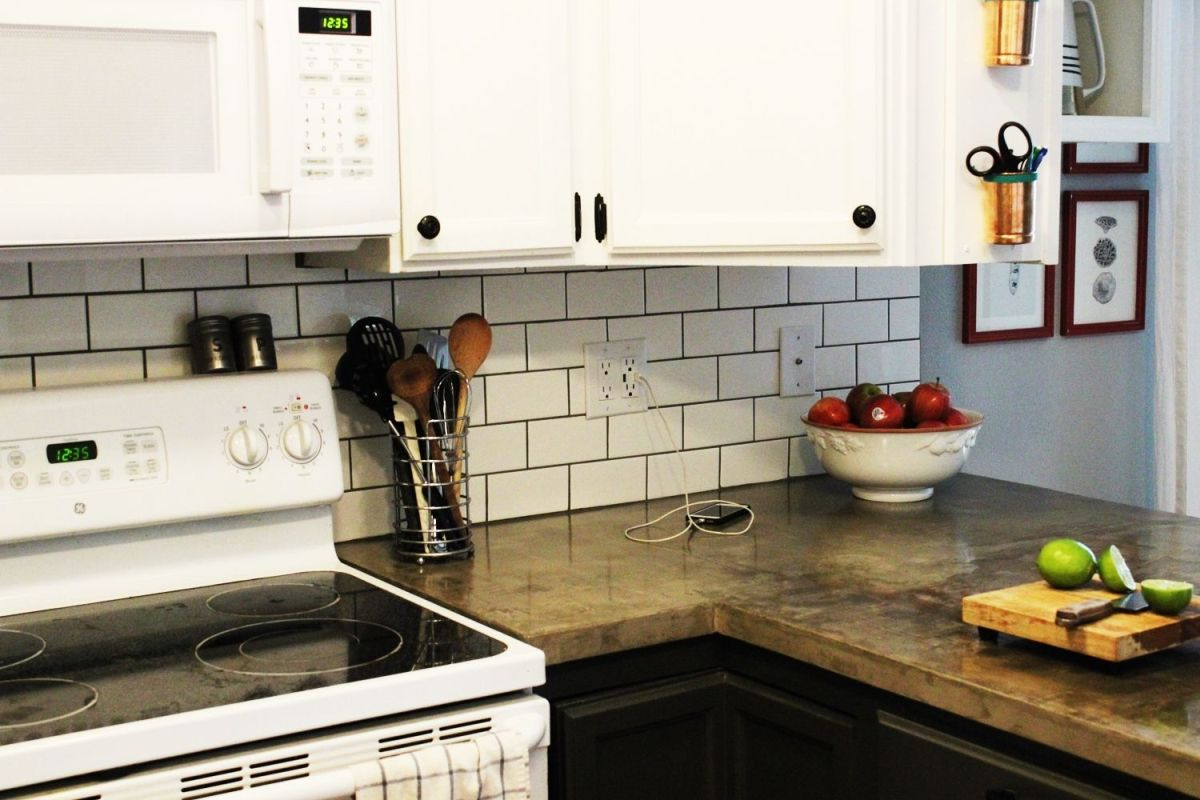
Lay out the backsplash itself
Now, this is the first thing that you need to ensure. Wall tiles are typically a lot thinner as well as lighter in weight in comparison to floor tiles. A lot of them are made with built-in preliminary spacers conveniently placed at their edges. These are also known as lugs. If they don’t have some – you need to make sure that you get the proper size plastic spacers. This is going to ensure that you maintain the necessary gap between the tiles and prevent them from dragging down.
It’s also advisable to use course-grit sanding sponge in order to rough up the overall surface if you will be tiling over a drywall which is polished or painted. This is going to assist the mastic to adhere better to the surface. Once you are true with the sanding sponge just wipe off any remaining debris and dust.
-
Cut the tiles
Now that you are ready with the overall positioning of the tiles, you need to account for their size and make it happen. While you dry fit the tiles make sure that the bottom rows as well as the ends of the tiles are properly marked. Those which are designated for the top row or to fit under cabinets are better off when you cut them right before you install them.
Of course, the way you cut the tiles is up to you – you can use a regular manual snap cutter for the majority of the ceramic tiles. You can use a small sanding stone in order to polish up the cut edges as they are likely to be a bit rough. For larger tiles you can use power wet saw which is water-cooled.
-
Applying the mastic
This is where a lot of people start to hesitate and to question. They tend to believe that getting the right mixture is complicated and it requires a lot of expertise. While this might be true – it’s definitely not something that you ought to worry about. Wall tile adhesive comes in a powder form which is already mixed. This is particularly convenient. You should only mix it with water and aim for peanut butter consistency – that’s the general rule of thumb. Use a notched trowel with the approximate size of your tiles – you can go for ¼ or 3/8 inch notches as this is the standard.
Tile adhesive dries particularly quickly. You should only use as much as you can install for no more than about 10 minutes as the adhesive will get dry.
-
Installing the tiles
This is basically the most integral thing that you have to consider. If you have a vertical border row, you might want to start there and always remember to put a spacer right at the bottom – this is going to allow caulking. If you don’t have a border – make sure to start with the bottom row which is at the center mark. Always press the tiles firmly into their designated spot and make sure to place spacers if that’s necessary.
A good hint on the pressure that you need to apply is to avoid squeezing the mastic into the joints – this is a sign that you are applying too much pressure.
-
Grout
Before you go ahead and apply the grout on your backsplash, you should allow the adhesive for the tiles to set for at least 24 hours. Of course, this is subjected to change as different adhesives required different waiting period. So, you should conveniently go through the instructions of the manufacturer.
Now, unsanded grout is usually designated for wall installations as well as glazed tiles and ones with narrow grout lines. You can acquire pre-mixed grout which is available in a range of different colors – this is going to help you match the overall contrast with your tiles. In order to prevent it from staining certain porous tiles you might want to check with the manufacturer and see if he recommends the usage of a specific solution.
Again, the grout should be mixed to the consistency of peanut butter – once again, this is the general rule of thumb. The application of the grout is nothing serious and you might want to wait for about 25 minutes for it to dry. This is the solution which is going to introduce the sealing property necessary to ensure the integrity and durability of the tiles.
In any case, there are quite a few things that you might want to take into account if you’ve decided to tile your kitchen backsplash on your own. This is not a complicated endeavor even though it might look like one. The truth is that the majority of the aforementioned steps are completely intuitive and there is nothing for you to be overly worried about. This is a quick process which should be done carefully. Yet, you can easily handle it on your own. Of course, trusting a professional will definitely free up a lot of time and hassle but if you don’t want to spend additional money, you might handle it on your own. Following the aforementioned steps is something that you can take as fundament and groundwork for you tiling endeavors as they are most definitely going to be of great help. As you can see, there are only 5 simple steps.
Rebecca writes for Midland Stone a garden and builders’ supplier in Ireland. They have all the products online that can help you create a great looking garden.


Comments